How to Roll a Joint
Joints are likely the most convenient way to smoke weed on the fly. You can take joints with you wherever you go. But you will need to learn how to roll a joint first.
Rolling a joint is an art form. If you roll too loosely and your joint will fall apart. If you roll too tightly the joint won’t pull. It can be difficult to find the perfect balance.
This article will explain how to roll a joint so you become masterful in the art.
Why Smoke a Joint?
Smoking joints is a convenient way to enjoy weed when you are out and about. You can store your joints in a case that fits into a purse or the inside pocket of a jacket. Extract the joint when you want to unwind, and you are good to go.
The process is easier than carrying around a bulky pipe or bong.
What Do You Need to Roll a Joint?
The first step of how to roll a joint is gathering the right materials. Beginners should start by rolling a 1/2 gram of weed into a 1 ¼” rolling paper.
Larger and smaller papers are available. For example, king-sized sheets can hold up to a gram of weed. There are also 1” papers available that are meant for rolling tobacco.
But papers that are larger and smaller will more challenging to roll. As a beginner, you are best off starting with the ½ gram to 1 ¼” paper ratio.
Papers can also vary in length, but on average, they are around 1” long.
In addition to papers and weed, you will also need a crutch for the joint tip and a cannabis grinder. You may want a pen or a similarly shaped object available.
A Note About Paper Material
Smoking a joint is a convenient option. But smoking weed can be harmful to the lungs. White papers that may contain bleach and other chemicals can be even more dangerous.
You are best off using brown papers made of natural ingredients such as:
- Rice
- Bamboo
- Flax
- Hemp
Hemp is a good choice as it burns strong and evenly and does not affect the flavor of the weed.
Eight Steps for How to Roll A Joint
Here are the steps you will need to take how to roll a joint:
Remove Seeds and Stems
The first step in the ‘how to roll a joint’ process involves removing seeds and stems. Seeds and stems have little to no THC content and can give you a headache if smoked. What’s more, the stems will cut through the paper if they are not fully ground.
Grind Your Weed
It’s essential to break up your weed before you roll it. It will make the joint more even and help it burn more efficiently.
It’s advisable to break up your weed in a grinder as it will cut down on labor, and it won’t get your hands sticky. If you don’t have a grinder available, you can use your hands or scissors.
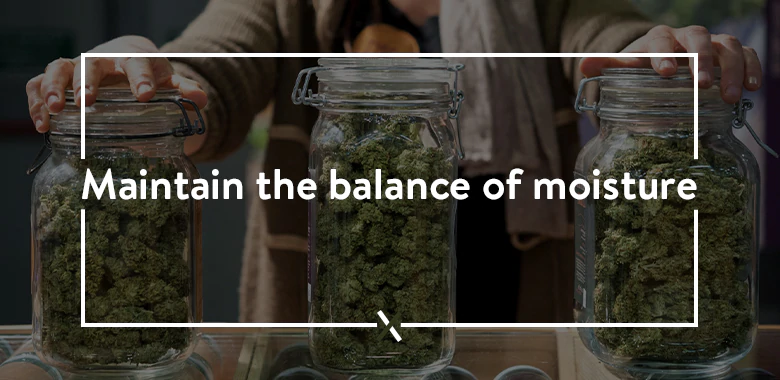
Note, your cannabis will break up easily if it’s dry. If your weed is moist, consider hanging it upside down or storing it at a temperature between 60 and 70 degrees Fahrenheit. Drying your weed will also make it last longer.
Create a Crutch
The next step in the ‘how to roll a joint’ process involves creating a crutch.
Also called a tip or filter, a clutch stabilizes your joint so it rolls easier and is less likely to fall apart. It is not necessary, but it’s a good idea to have one.
A crutch can be made with a thin yet stiff piece of paper such as a business card or a piece of rolling paper packaging. Cut it so it’s a few centimeters thick, fold it, and place it on one end of the rolling paper before adding the weed.
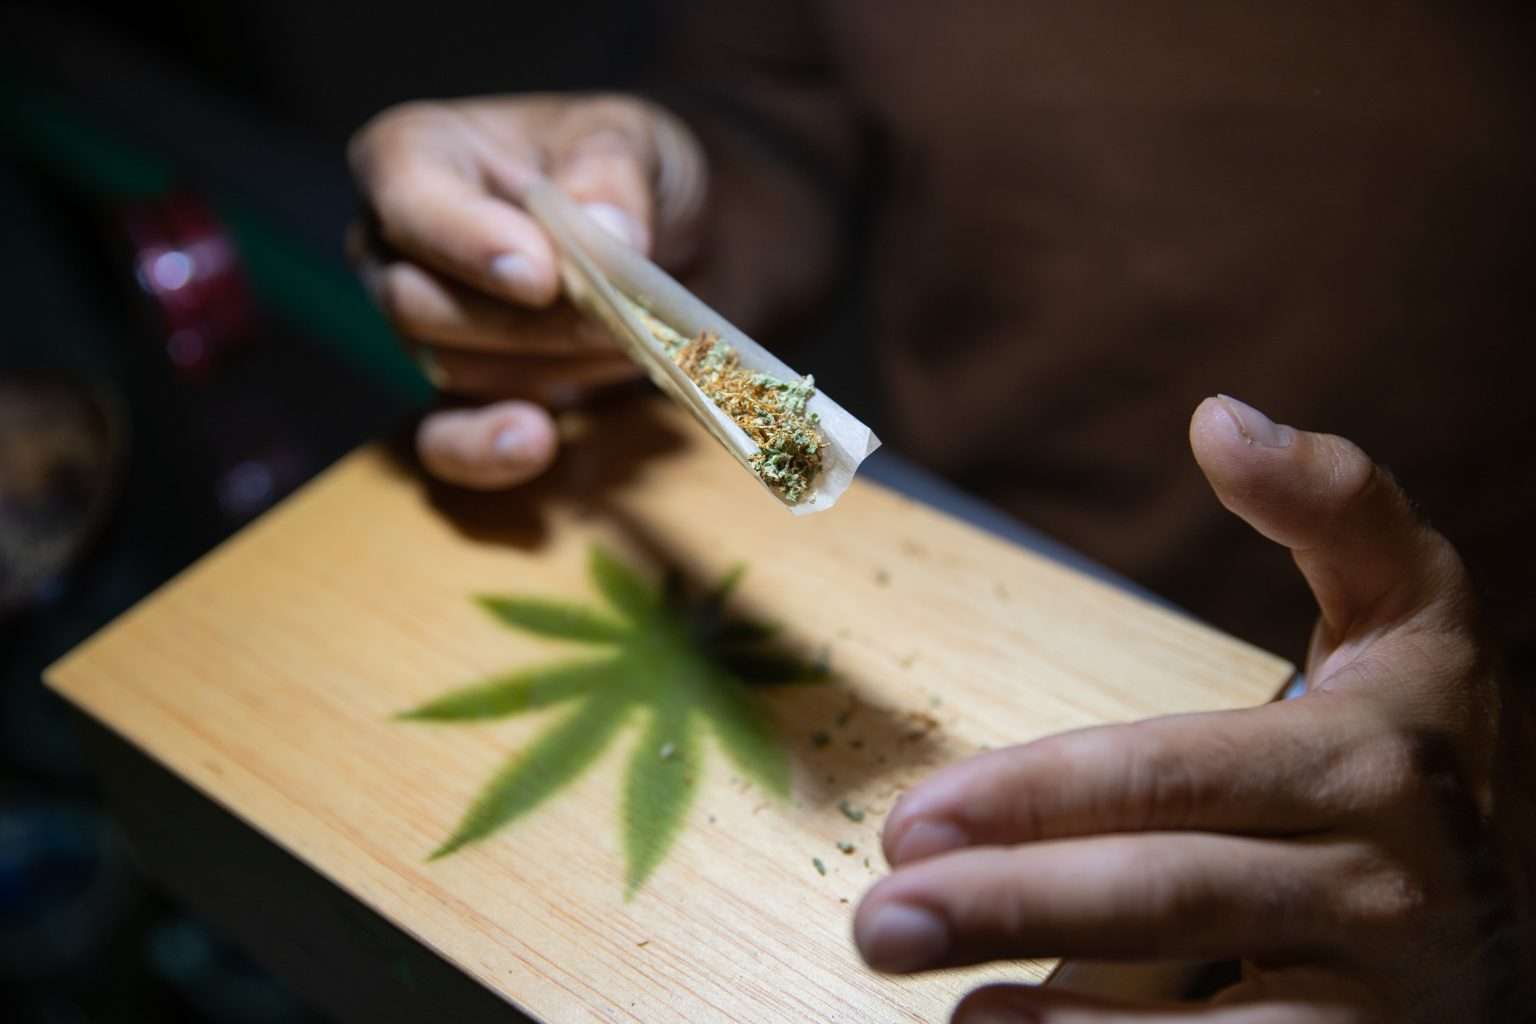
Add the Weed
Fill your paper with ½ to a gram of weed dispersing it evenly along a fold you make with your fingers when holding it.
How to Roll a Joint
Roll the joint by pinching the paper between your fingertips and rolling it back and forth until it’s in a cone shape. Beginners tend to roll and re-roll to try and tuck in the paper, but just a few rolls should do the trick. If you over-roll, the joint won’t pull.
Seal the Joint
Sealing the joint is the most crucial step of the how-to-roll-a-joint process.
Tuck the unglued side of the paper into the roll. Start with the side of your dominant hand, then follow the seam and tuck the rest of the paper.
Roll it up, then lick the edge to seal the paper using just a bit of moisture. Too much moisture will make the paper wet.
For best results, start licking at the side with the crutch. Doing so will help the paper roll around itself evenly.
Once the paper is tacked down on one end, work your way down tucking and sealing the joint as you go.
Pack the End
The final step in the ‘how to roll a joint’ process involves packing the end.
Pack the open end of the joint to ensure an even burn. You can pack it with a pen, the tip of a shoelace, a small stick, or anything else with a long, thin shape.
Then twist the tip of the paper to seal in the contents.
Now that you know how to roll a joint, you can enjoy a superior smoking experience. Don’t bogart, and have a mellow day!